Details to Check After Installing the Drive Shaft Assembly
Although the drive shaft assembly is a highly specialized product, its design has significantly improved in recent years. With the integration of both the equipment and the motor, the entire drive shaft assembly has become much simpler, with a more defined structure, making the installation process easier.
Modern drive shaft assemblies are well-integrated, and users who purchase them are often able to install them on their own. Today, this kind of product is widely used in various vehicle designs, and many customers choose to install it themselves, making it both convenient and cost-effective. However, there are several key considerations to keep in mind during installation: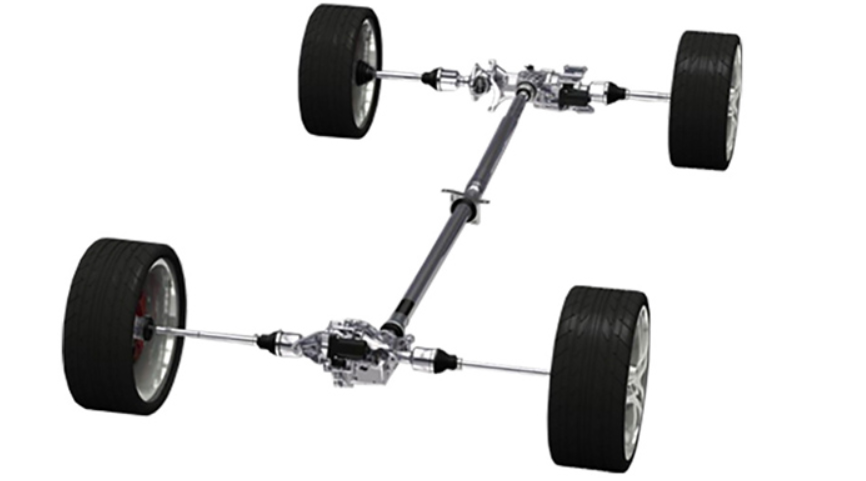
1. Carefully Inspect the Product Before Installation
Before beginning the installation, it is crucial to conduct a detailed inspection of the drive shaft assembly. This includes checking for any foreign objects or debris inside the product. For example, materials such as anti-vibration padding might accidentally fall into the components during shipping.
These checks are essential to ensure the device’s performance. If such issues are overlooked, they may cause problems during installation, and removing the debris later could be challenging. Therefore, a thorough inspection before installation is necessary to avoid future complications.
2. Ensure All Bolts are Tightly Secured
During installation, it is critical to make sure that all screws and bolts are tightly secured. This is very important because a loose connection could lead to performance issues. The screws that connect the drive shaft assembly must be fastened tightly to prevent excessive vibration, which could compromise its function.
Additionally, make sure to install the components in the correct orientation—pay close attention to ensuring that the front and rear parts are not mixed up. Since the drive shaft operates by rotating at high speeds, loose bolts can directly affect its performance and may even disrupt the vehicle’s operation.
3. Perform a Test Run After Installation
After the installation is complete, it’s important to perform a test to ensure everything is functioning correctly. Start the engine and check the operation of the drive shaft. This can be done by running the vehicle at low speeds and observing how the drive shaft operates. Listen for any unusual noises, vibrations, or other signs of malfunction.
If everything runs smoothly during this initial test, then the installation is likely successful. However, if any issues arise, it’s best to stop the test immediately and inspect the components again to address the problem before further use.