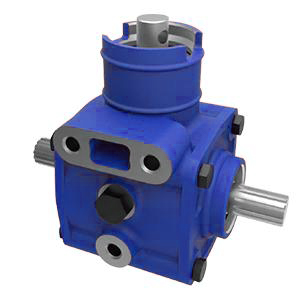
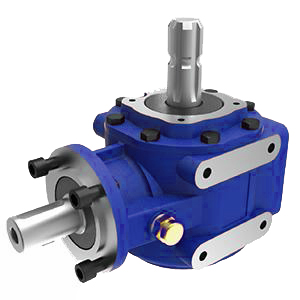
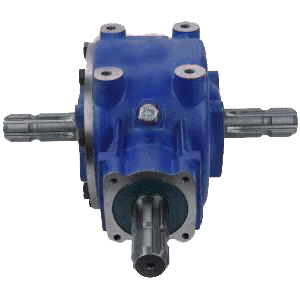
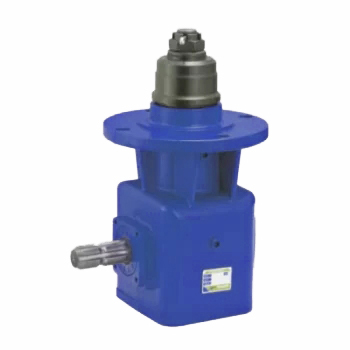
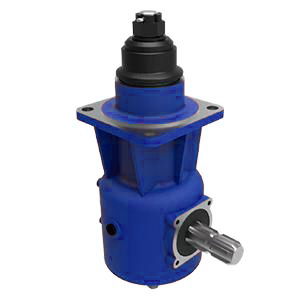
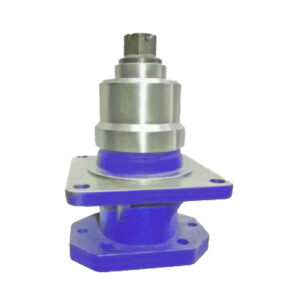
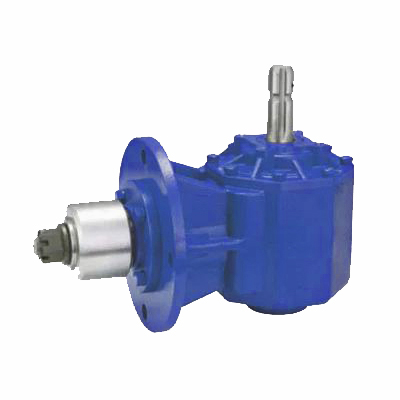
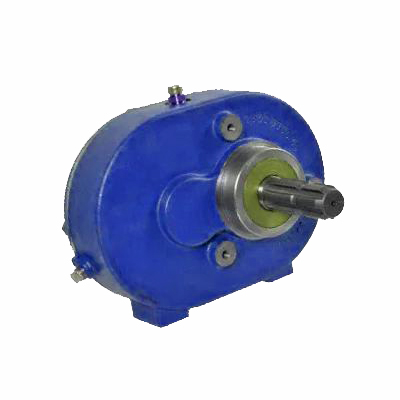
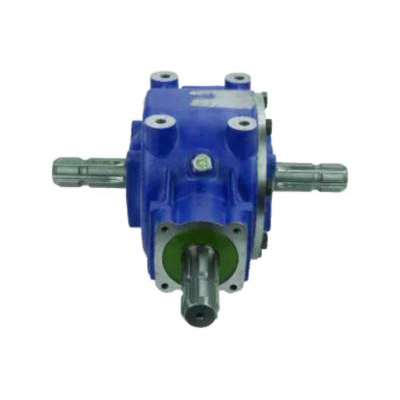
9.311-JCG Rotary Tiller Cultivator Gearbox for Agricultural
Glad to tell you we can manufacture all kinds of gears according to clients drawing and specifications, specializing in non-standard items.
At present, we have all kinds of CNC machines and gear machines.
If you need OEM gears by casting, forging, or machining, please feel free to contact us. We pay most attention to quality and our QC will inspect the goods for you before delivery. I hope the good quality and lower price is your best choice.
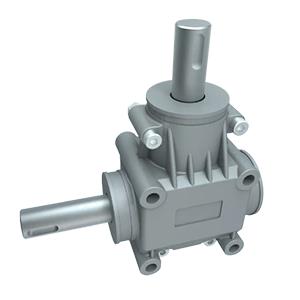
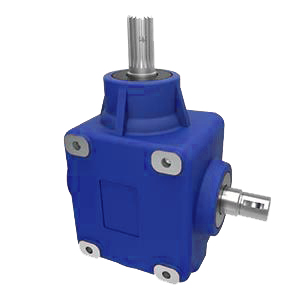
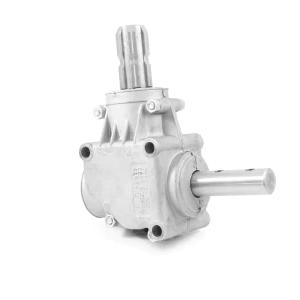
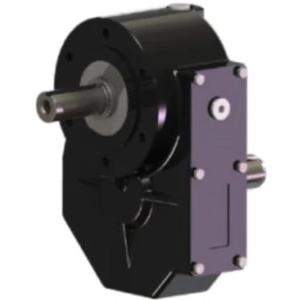
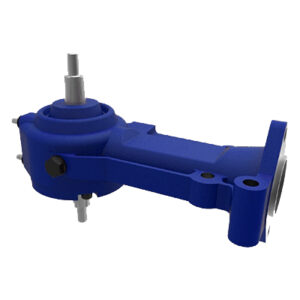
9.311-JCG Rotary Tiller Cultivator Gearbox for Agricultural
| ITEM | HC-9.311-JCG Rotary Tiller Gearbox |
| Ratio | 1:3 |
| Teeth | 36/12 |
| Module | 4.35 |
| Power(HP) | 50 |
| Rated Input | 540rpm |
| Input/Output Description | 1 3/8 Z6 Optic axis |
| Weight(N.W) | 21KG |
Glad to tell you we can manufacture all kinds of gears. According to clients drawing and specifications, specializing in non-standard items.
At present, we have all kinds of CNC machines and gear machines.
If you need OEM gears by casting, forging, or machining, please feel free to contact us. We pay most attention to quality and our QC will inspect the goods for you before delivery. I hope the good quality and lower price is your best choice.
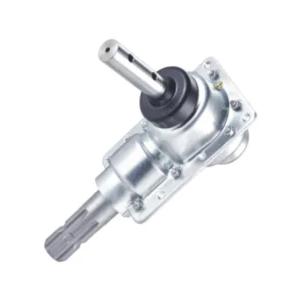
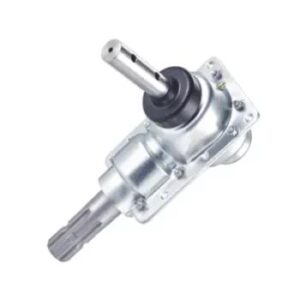
PTO Shafts for 9.311-JCG Rotary Tiller Cultivator Gearbox
Agricultural equipment such as tractors, combines, and harvesters use PTO shafts. These components are subjected to high loads and stress, and it is vital to find out why they failed in the first place. Constant compression of the shaft can damage connecting shafts and even the tractor and implement. A PTO shaft for an agricultural gearbox is an integral part of an agricultural implement or tractor. And PTO shaft for the agricultural gearbox is secured with a safety shield at both ends and can be found on implements and tractors. A PTO shaft can be welded to the drive end by using a universal joint, while the rear shaft can be welded directly to the tractor.
If you also need the PTO drive shafts, please contact us!
How to replace the gearbox on your rotary cultivator?
1. Unhook the tiller from the tractor.
2. Make sure the tiller is securely blocked and leveled.
3. Remove the PTO shaft from the tiller.
4. You must reverse tines on the tiller before reverse operation.
5. To reverse the tine direction, remove four (4) bolts at each end of the tine carrier.
6. Carefully drop out the tine set and turn 180° and place it in front of the tiller. Before reattaching the tines, remove the gearbox.
7. Loosen and remove a total of (6) bolts, (2) on top of the gearbox and (4) underneath.
8. Slide gearbox to left approximately 5”. Side key shaft should drop out of gearbox on the right-hand side.
NOTE: If the key shaft does not come out of the gearbox, simply slide the key shaft out of the side gearbox first and then remove it from the main gearbox.
9. Slide gearbox forward and out.
10. Remove the fill plug from the top of the gearbox.
11. Remove the flat plug from the bottom of the gearbox. Switch the fill plug from the top of the gearbox to the bottom and flat plug from the bottom to top
12. On the side opposite where the key shaft was inserted, find the washer held in by a snap ring.
13. Using snap ring pliers, carefully remove the snap ring
14. Remove washer from key shaft hole as well.
15. Put washer and snap ring back into the hole where the key shaft was just removed.
16. Flip the gearbox over and re-insert it into a frame
17. Slide the key shaft into the now freed-up key shaft hole on the opposite side of the gearbox.
18. Slide the gearbox back to the center of the tiller
19. Reinsert 6 bolts (2 top, 4 bottoms). Do not tighten until all 6 are successfully started.
20. Once the key shaft is successfully reinserted and all 6 bolts are started by hand, tighten all 6 bolts on the gearbox. Do not tighten any of the six gearbox bolts until all six have been threaded and started, then tighten.
21. Carefully reattach to each hub.
NOTE: Instructions partially made with tines removed for instructional clarity only Tine set is heavy and contains WARNING sharp edges. Handle carefully!
22. Your tiller unit should now turn and till in the reverse direction.
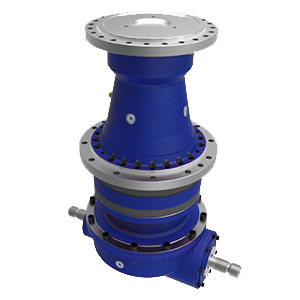
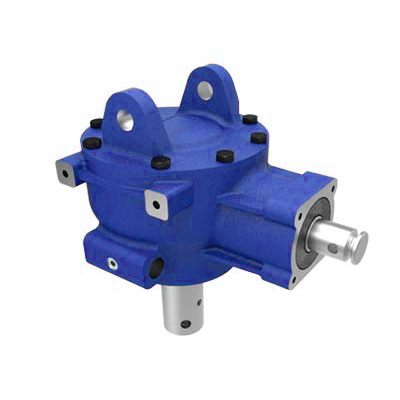
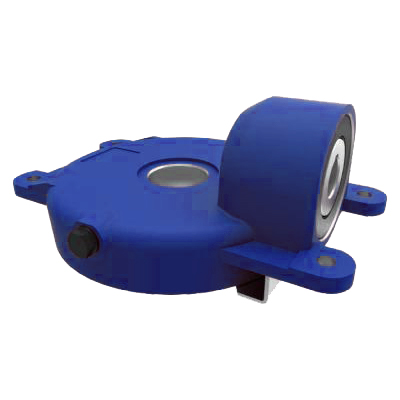
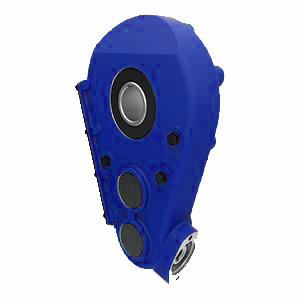
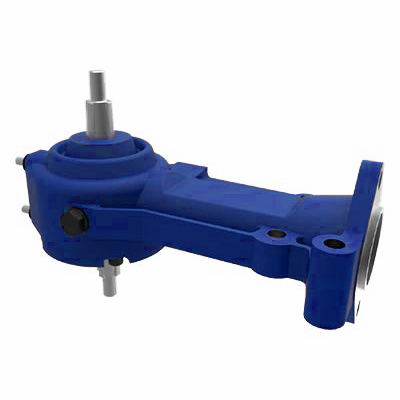
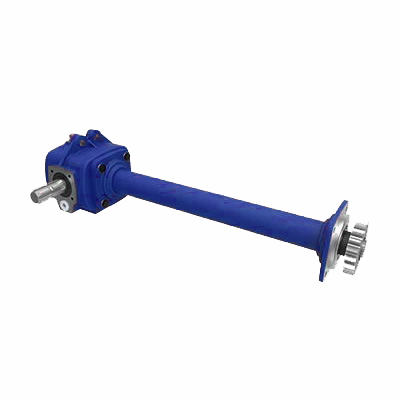
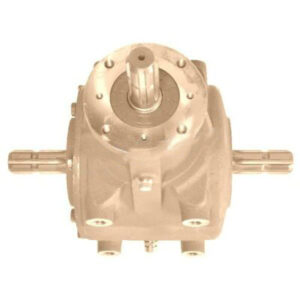
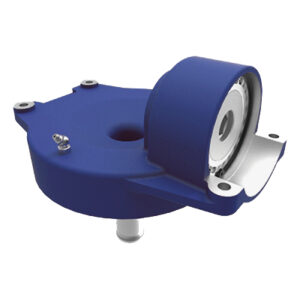
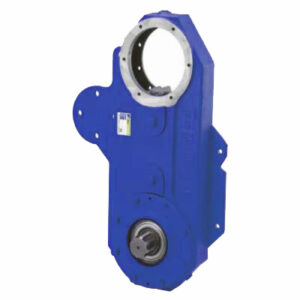
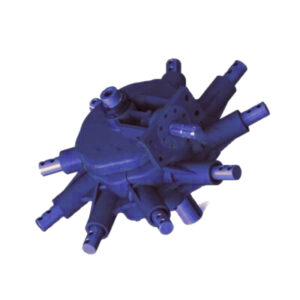
Other Agricultural Gearboxes

Packing Shipping Delivery
  |
 |
|
 |
 |
|
How to choose power transmissions parts and industrial products which meet our requirement
| Chains | Sprockets | Pulleys | Timing belt Pulley | V-belt Pulley |
| Sheaves | Coupings | Bush &Hub | Gear& Rack | V-Belt |
| Locking Assembly | Pulley | Gearbox | Reducer | Shaft Collar |
| Rod End Bearing | Clevis | PTO | Chain Guide | Belt Guide |
| Rubber Buffer | Chain Tensioner | PTO Drive Shafts | Universal Joints | Roller Chains |
| Conveyor Chains | V-Belts | Worm Gearbox | Helical Gear | Worm |
| Agricultural Chain | CNC Proces Parts | Casting | Stamping | |
| Powder Metallurgy | CNC Proces Parts | Casting | Stamping |
What Products Do you sell ?
We are a group of factories, give customer one stop solution of power transmission and industrial products. We are in the position to supply wide range of products, including chains, sprockets, v-belt and v-belt pulleys, timing belt and timing belt pulleys, gears, speed reducers, motors, racks, couplings, and many other parts, like locking assembly, taper bushing, Chain guide, shaft collar, torque limiter, cam clutch, universal joint, motor base and motor slide, rod end, clevis, rubber mount, etc. We make special parts according to drawings and/or samples.
How to choose a gearbox which meets our requirement?
You can refer to our catalogue to choose the gearbox or we can help to choose when you provide
the technical information of required output torque, output speed and motor parameter etc.
What information shall we give before placing a purchase order?
a) Type of the gearbox, ratio, input and output type, input flange, mounting position, and motor informationetc.
b) Housing color.
c) Purchase quantity.
d) Other special requirements.
What industries are your gearboxes being used?
Our gearboxes are widely used in the areas of textile, food processing, beverage, chemical industry,
escalator,automatic storage equipment, metallurgy, tabacco, environmental protection, logistics and etc.
What is the producing process?
Production process including raw material cutting, machine processing, grinding, accessories cleaning, assemble, cleaning, stoving, oil coating, cover pressing, testing, package.
How to control the products quality?
Combining advanced equipment and strict management, we provide high standard and quality bearings for our customers all over the world.
What is the transportation?
-If small quantity , we Suggest to send by express, such as DHL,UPS, TNT FEDEX. If large amount, by air or sea shipping.
Can we design packaging?
-Yes. Default is regular packing, and we can make customer's own packing.
Can you provide OEM service?
-Yes, we work on OEM orders. Which means size, quantity, design, packing solution, etc will depend on your requests; and your logo will be customized on our products.
Can you give me discount on Power Transmissions Parts and Industrial parts?
-Yes, of course. Pls. send me your Email, you'll get more
Q: Are You a trading company or a manufacturer?
A: We Are the factory and have our Own trading company
Q: How Can I get an offer?
A: please send US quotation information: drawings, materials, weight, quantity and requirements, we can accept PDF, ISGS, DWG, STEP file format. If you don't have the drawings, please send us the samples, we can also quote you according to your samples.
Q: What is your minimum order size?
A: it is usually 100 pieces, but a low quantity is acceptable under some special circumstances.
Q: Do you provide samples? Is it free or extra?
A: Yes, we can provide samples free of charge, but we don't pay the freight.
Q: What is the lead time for mass production?
A: honestly, it depends on the number of orders. Normally, if you don't need the tools, deposit them after 30 days or so.
Q: What if the parts don't Work?
A: we can guarantee the quality, but if it happens, please contact us immediately, take some photos, we will check the problem and solve it as soon as possible.
Q: What are your terms of payment?
A: payment is less than US $1000,100% in advance. Payment: $1000,50% wire transfer in advance, balance before shipment,Other Terms of payment are negotiable



Reviews
There are no reviews yet.